Tuesday, 26 August 2014

iPad tricks

Take a screenshot
If you need a screenshot, whether it's to prove your high score in a new game or to send an important chart to the office, taking one is quick and easy. Press and hold the Sleep/Wake button and the Home button at the same time. The screenshot will be added to your camera roll.
 

 Tap titlebar to return to top
Scrolling all the way up to the top of a long page can be irritating. That's why Apple included a shortcut: just tap on the title bar at the top of the screen to automatically jump to the top. This should work across most apps,
 

 Fast app switching
If you have followed the tips above then you will have seen this by now. Switching apps quickly is very easy. It's not necessary to close one app and then scroll through your apps to find the one you want. Just open the iPad's multitasking menu by swiping upwards with four fingers or double-tapping the home button. You'll see all of your recently opened apps. Scroll right and you'll see even more. Just tap the one you want to switch quickly. This is especially useful if you want to copy-and-paste between one app and another. Swipe one up to quite it.

 Copy/Paste
This is a tremendously useful feature. If you need to copy text between, say, a document and an email, just tap and hold on the text you want to copy. The word you have tapped will be highlighted and you'll see a bar with a blue circle on it at each end of the word. Drag these bars to select the text you want and then tap 'copy'. Then go to the app you want to paste the text into, tap and hold and then hit 'paste'.

 Zoom

Want to see something close up, then this feature might be for you.
This feature sits in the accessibility folder under general settings. when turned on, double tap on the screen with three fingers to zoom into a spot.
To navigate around while zoomed in, drag three fingers around the screen.
And if things still are not magnified enough, then double tap again while zoomed in with three fingers before dragging them up or down. This will zoom you right in and out of the action.

 Shake to undo
Made a mistake when typing and wish there was a handy undo button just like on your desktop word processor. Actually there is, but you have to get physical.
Simply pick up your iPad, hold it tightly and give it a rigorous shake. A box will flash up on the screen asking if you would like to undo the typing you have just inputted.

Double click the home button
Double click of the home button will bring up the multitasking bar, allowing you to access apps that are open, place a finger on them and the Apps will jiggle. Press the small x to close down an app in the bottom bar.

Reboot
Hold down the Sleep/wake Button and the Home Button  for about 15 seconds or until the screen goes black and the Apple logo appears. Wait a while and slide to switch on. all open Apps which are slowing down your system will be closed.

Tuesday, 19 August 2014

HP X360 removing the base enclosure

Removing the base enclosure

WARNING:Make sure the computer is disconnected from power before starting.
Follow the steps in this section to remove the base enclosure.
Step 1

Remove the two rubber feet from the rear corners of the base enclosure.
Removing the rubber feet
Step 2

Remove four screws that secure the base enclosure to the top cover.

NOTE:The four screws in this step and the seven screws in the next step are different sizes. Take care to keep them separate for reinstallation.
Four screws locations
Step 3

Remove seven more screws that secure the base enclosure to the top cover.
Seven screw locations
Step 4

Starting with the edge of the base enclosure near the power button, carefully release the retention clips on the outer edges of the base enclosure from the top cover.
Releasing the retention clips
Step 5

Lift the base enclosure off the computer by prying it up and lifting...
Lifting and removing the base enclosure
...taking care to flex the base enclosure as necessary to remove the enclosure from over the HDMI connector.HDMI connector in the base enclosure
Step 6

Lift the base enclosure until you have access to the ribbon cable and its connector.
Base enclosure lifted to access ribbon cable and its connector
Step 7

Carefully lift up the locking bar on the connector.

CAUTION:Use care to prevent damaging the connector and ribbon cable.
Lifting the locking bar on the connector
Step 8

Remove the cable from the connector, and lift off the base enclosure.
Disconnecting the cable

Replacing the base enclosure

Use the steps in this section to replace the base enclosure.
Step 1

If installing a new base enclosure, remove the USB board from the inside of the old enclosure and install it on the inside of the new base enclosure.
USB board on the inside of the base enclosure
Step 2

Place the base enclosure over the computer so that the USB cable can be reconnected.
Holding the base enclosure open to access the ribbon cable and connector
Step 3

Insert the ribbon cable in the connector and push down on the locking bar to secure it.
Reconnecting the cable
Step 4

Replace the base enclosure ensuring that the HDMI connector fits in its intended opening on the side of the base enclosure...
HDMI connector in the base enclosure
...and lower the base enclosure onto the computer.Lowering the base enclosure into place
Step 5

Press down on the edges of the enclosure to snap it into place.
Snapping the cover into place
Step 6

Replace seven screws that secure the base enclosure.
The seven screw locations
Step 7

Replace the other four screws that finish securing the base enclosure to the computer.
The four screw locations
Step 8

Replace the two rubber feet.

Tuesday, 12 August 2014

Western Digital , Blue, Green, Black or Red what is the difference ?

Nothing beats a SSD Drive for performance but mechanical drives by Western Digital are much cheaper.

WD Blue
These are your baseline drives; typical power consumption, solid performance, good price. If none of the specific features of the other types stand out then these are the ones you want, they're ideal as capacity drives for a desktop for example.

WD Green
These are all about saving energy; they're not actually all that slow in practice for things like streaming, but for more random read/write they lag behind a bit, again not by all that much. The main benefit is that they save power and wear by spinning down when they can, this means they're basically best for things like backup drives which are only in use periodically (e.g - once an hour), if they're made to spin up too often then you obliterate any potential savings you could make, at which point you've got a slightly slower Blue.

WD Black
These are pure performance drives, all about speed. Their top speed for streaming isn't that much further ahead than a blue drive, but the main difference comes from it being generally more responsive. Basically if all you want is speed, but you can't afford an SSD with the capacity you need, then WD Blacks are for you. A good value gaming system can do well with an affordable SSD for OS and a few other bits and pieces you can fit, with a WD Black as your main drive for your games, for example by moving your Steam folder onto it, giving you good all round performance and capacity.
They also now have generous warranties (5 years), they're basically WD Red+, if you can take advantage of the extra performance that is.

WD Red
I think of these as a hybrid between Greens and Blacks; their power consumption is really good, but unlike the Green which is designed to save power between uses, the Reds are designed to just spin constantly for continual use/availability. They're quiet, responsive, and have good speeds, but most importantly they have an extended (3 year) warranty.
You could use them as system drives and they'd perform just fine, but you probably wouldn't be getting the most of their cost; they're ideal for often used NAS devices, I also like them for RAID setups, particular RAID-5 and RAID-6 since a bunch of them doesn't use tons of power, but they're responsive enough to handle the distributed blocks of data, parity writes etc.


So to summarise:
WD Black = Speed/high end use, extended warranty.
WD Blue = General use.
WD Green = Energy saving for backups or other less frequent use.
WD Red = Some energy saving, continual use, extended warranty, ideal for RAID.

Thursday, 24 July 2014

BSOD Unexpected Kernel Mode Trap and Mcafee Total Protection 2014

I have been suffering a crash and immediate reboot losing current data with  A BSOD (Blue Screen of Death)  0 x 1000007F Unexpected Kernel Mode Trap and the suggestion from forums what to do .
I checked the graphics card, RAM, hard drives using the Dell hardware utility stress tests.
All drivers were up to date.
I had restored my PC back from available Windows updates but no change.

A utility for explaining a  BSOD (Blue Screen of Death)  0 x 1000007F Unexpected Kernel Mode Trap showed that  a mfehidk.sys was recorded in the log which is a McAfee Total Protection 2014 .This  file is a link driver and leads me to believe that the BSOD which occurs when I try to drag and drop files or move up to the root directory was probably caused by the McAfee anti virus product.
Disabling the McAfee functions seemed to cure the problem immediately
Contacted their technical support who did seem to be familiar withy this problem. They found that Microsoft Security Essentials was also running which is not a good idea having two AV software running.
They then checked the Network Driver for updates which was found to be up to date.
Running the McAfee virtual technician showed no problems.
It was however suggested that a complete removal and reinstall would be necessary and offered to do this remotely for me.
The Remote assistance removed all McAfee products using mcpr.exe and rebooted.
They set up a reinstallation link on the desktop and serial number and asked me to reinstall and see if the error reoccurs.
July 2014 everything has been OK.
To  clean and re-install Mcafee Total Protection 2014  I have detailed a home use procedure below.


Mcafee removal tool download

Uninstall your McAfee home user products using Add/Remove Programs in the Windows Control Panel: 

Windows 8 Users
Close all McAfee program windows.
In the Start screen, type Programs and Features. (If it is not visible, click Settings in the list on the right.)
Click Programs and Features in the list on the left.
Select McAfee SecurityCenter.
Click Uninstall and follow any on-screen prompts.


Windows 7 and Vista users
Close all McAfee program windows.
Click Start, Search, type Programs and Features, and click Go.
Double-click Programs and Features.
Select McAfee SecurityCenter.
Click Uninstall and follow any on-screen prompts. 


Download and run the McAfee Consumer Product Removal (MCPR) tool:
Download the MCPR tool from: http://download.mcafee.com/products/licensed/cust_support_patches/MCPR.exe and save it to a folder on your computer.

IMPORTANT: The MCPR tool is updated periodically when new products and updates are released. Always download a new copy of the MCPR tool before using it to uninstall your product.

Navigate to the folder where you saved the file, and double-click MCPR.exe. 
When you see the User Account Control dialog box, click Yes.
At the McAfee Software Removal screen, click Next.
At the End User License Agreement (EULA) dialog box, click Next to accept the agreement.
When prompted, type the Captcha information, which is case sensitive, to validate to application security, and then click Next.
If you have Family Protection installed, type your Administrator user name and password and click Next.
If you cannot authenticate, follow the on-screen instructions to obtain an uninstall code. If you do not have Family Protection installed, you will not receive this authentication prompt.
When you see the message CleanUp Successful, restart your computer. Your McAfee product will not be fully removed until after the restart. 

Sunday, 22 June 2014

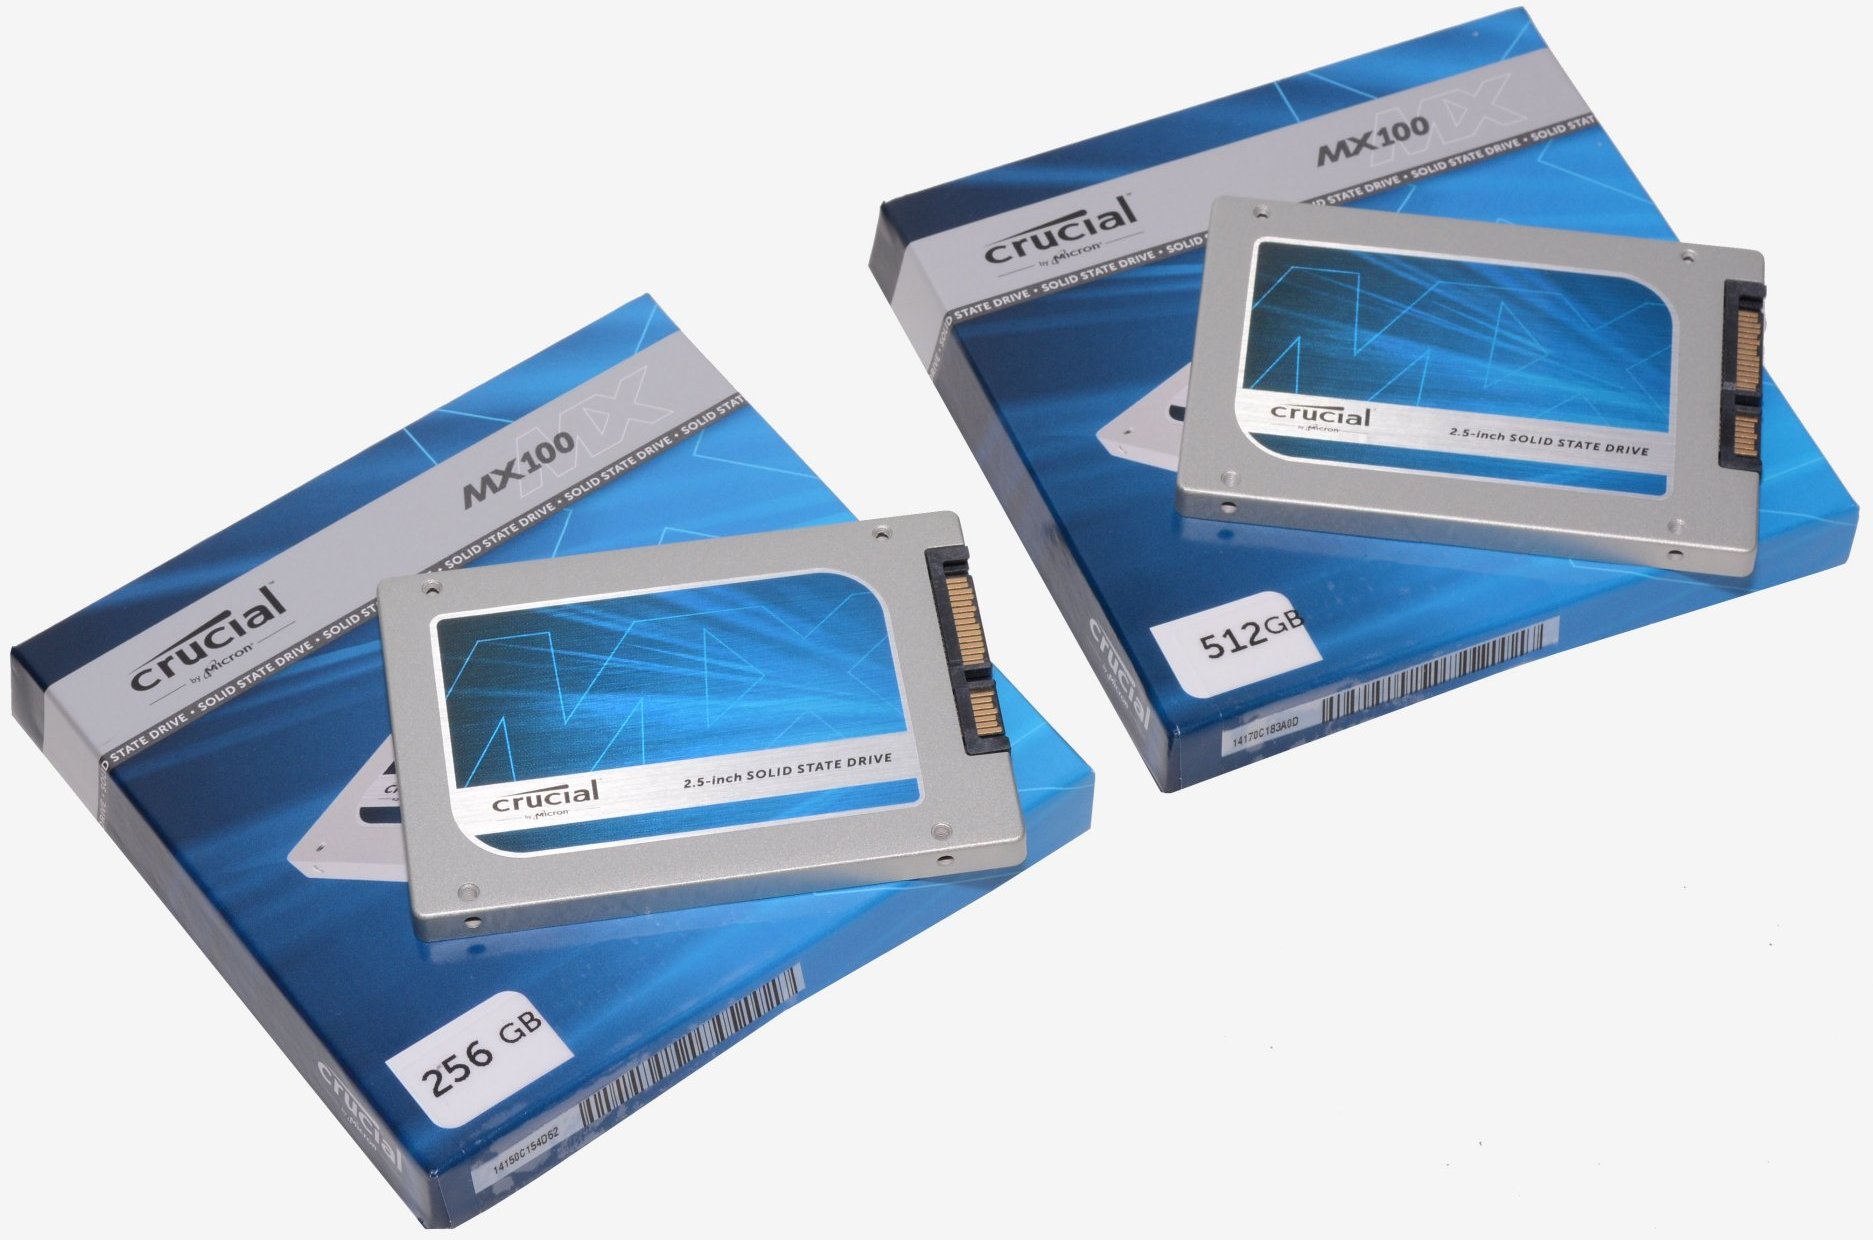
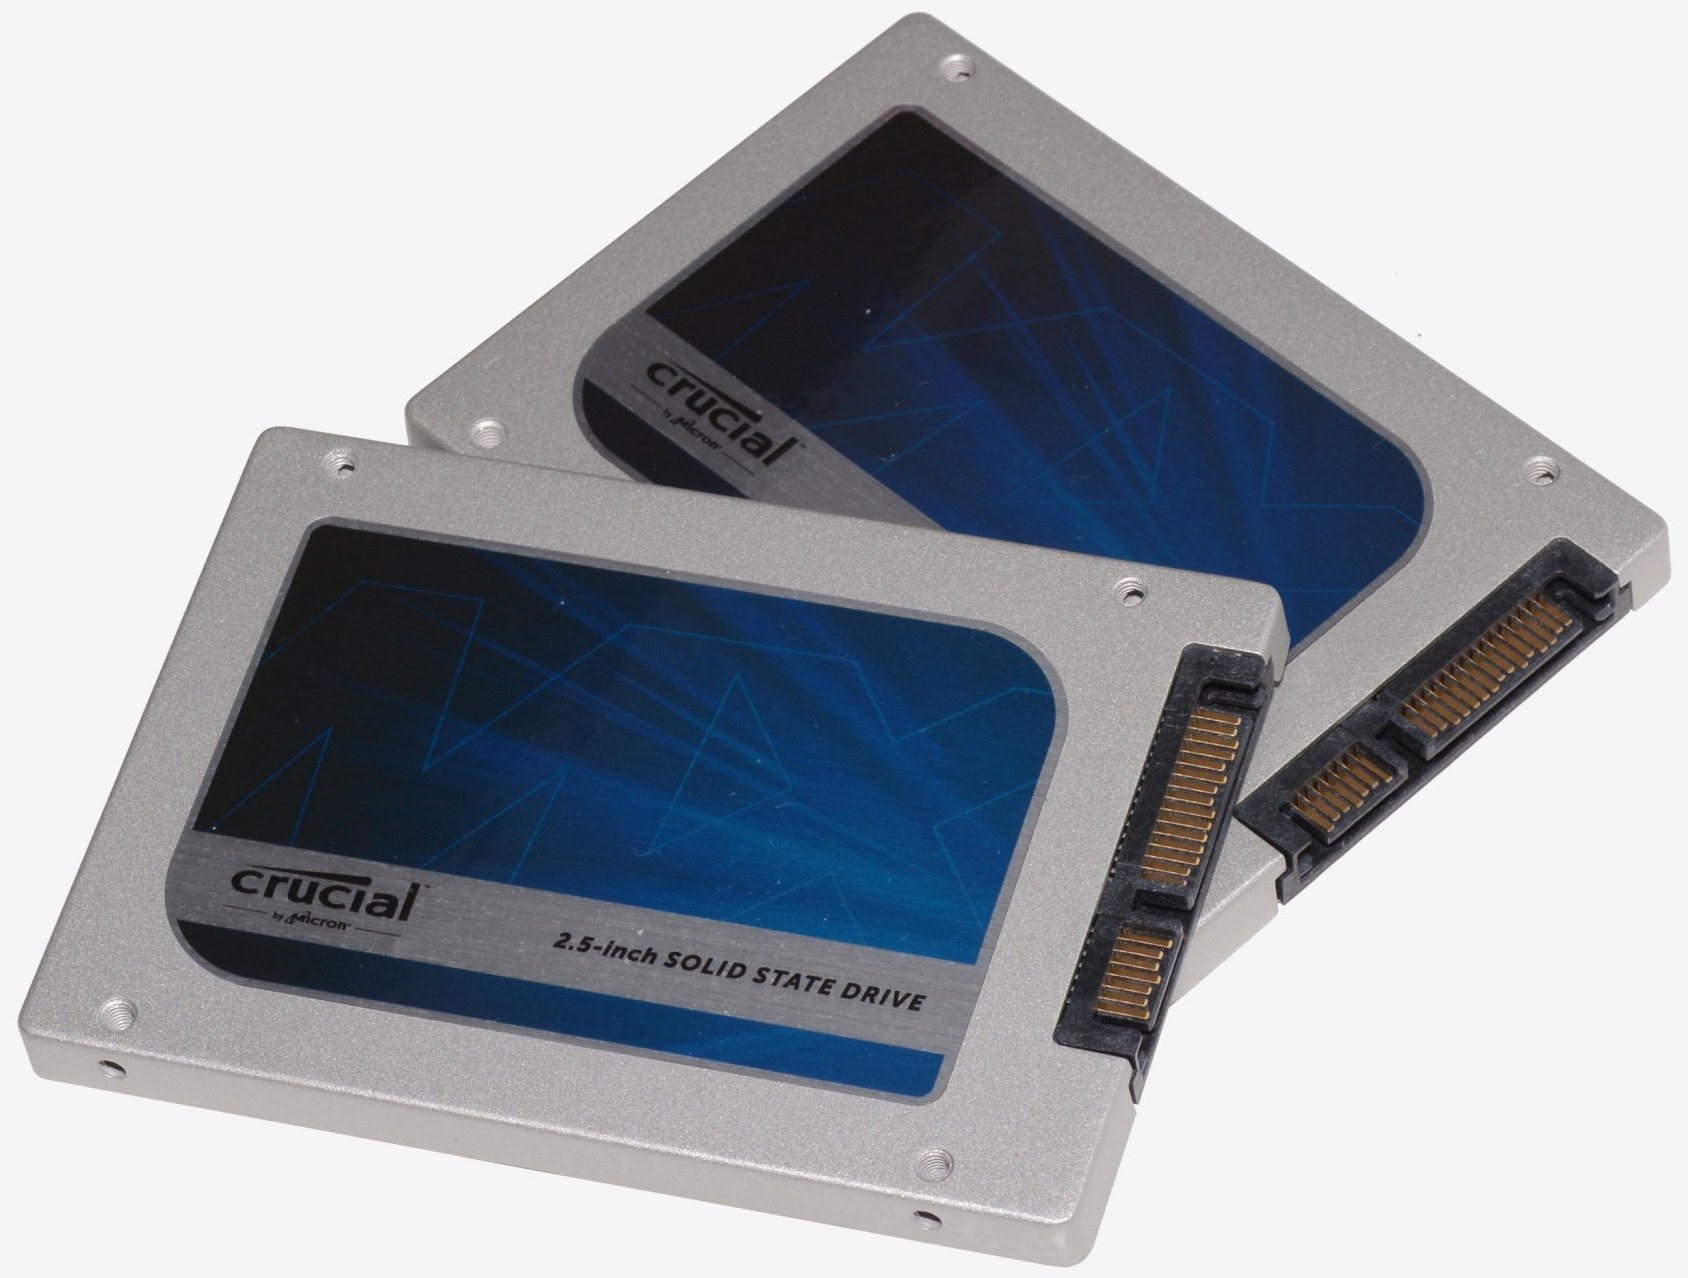
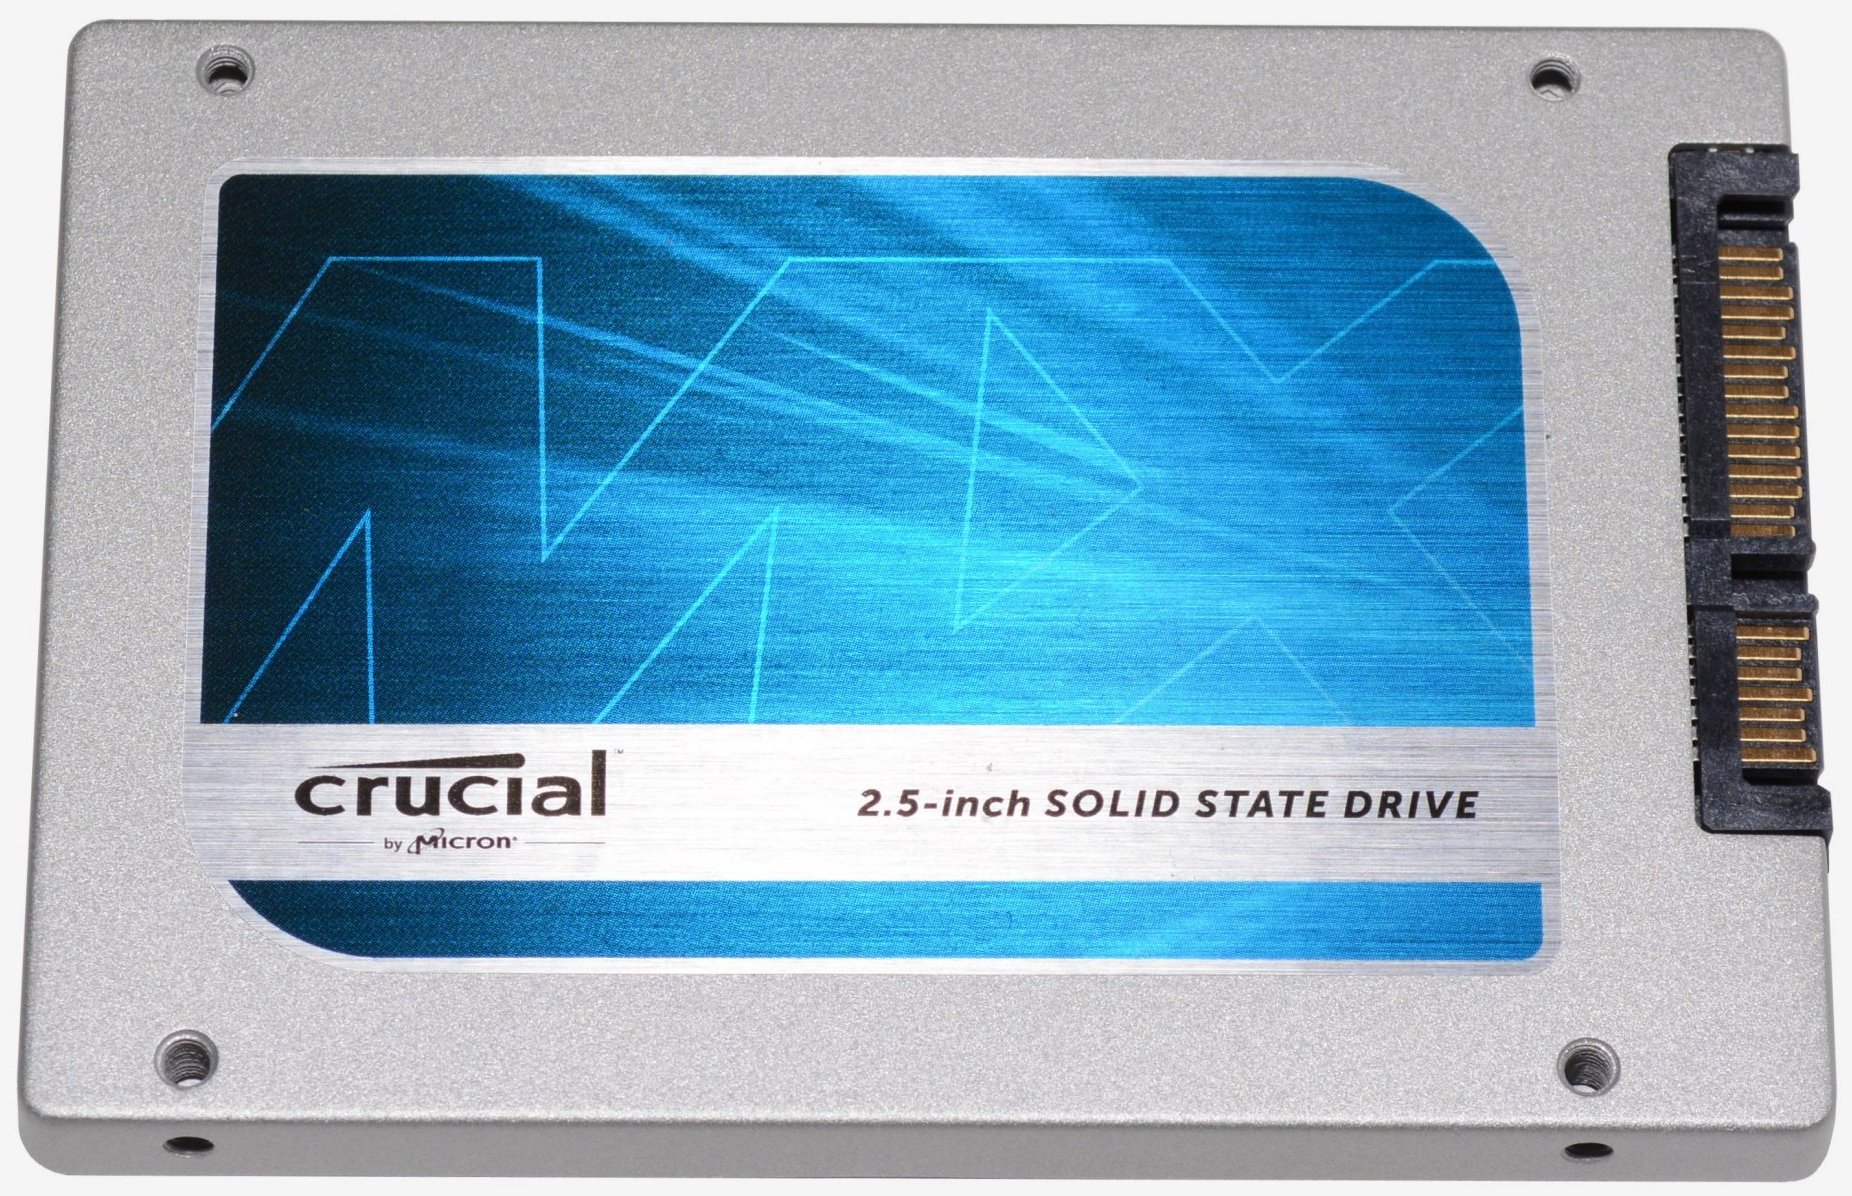
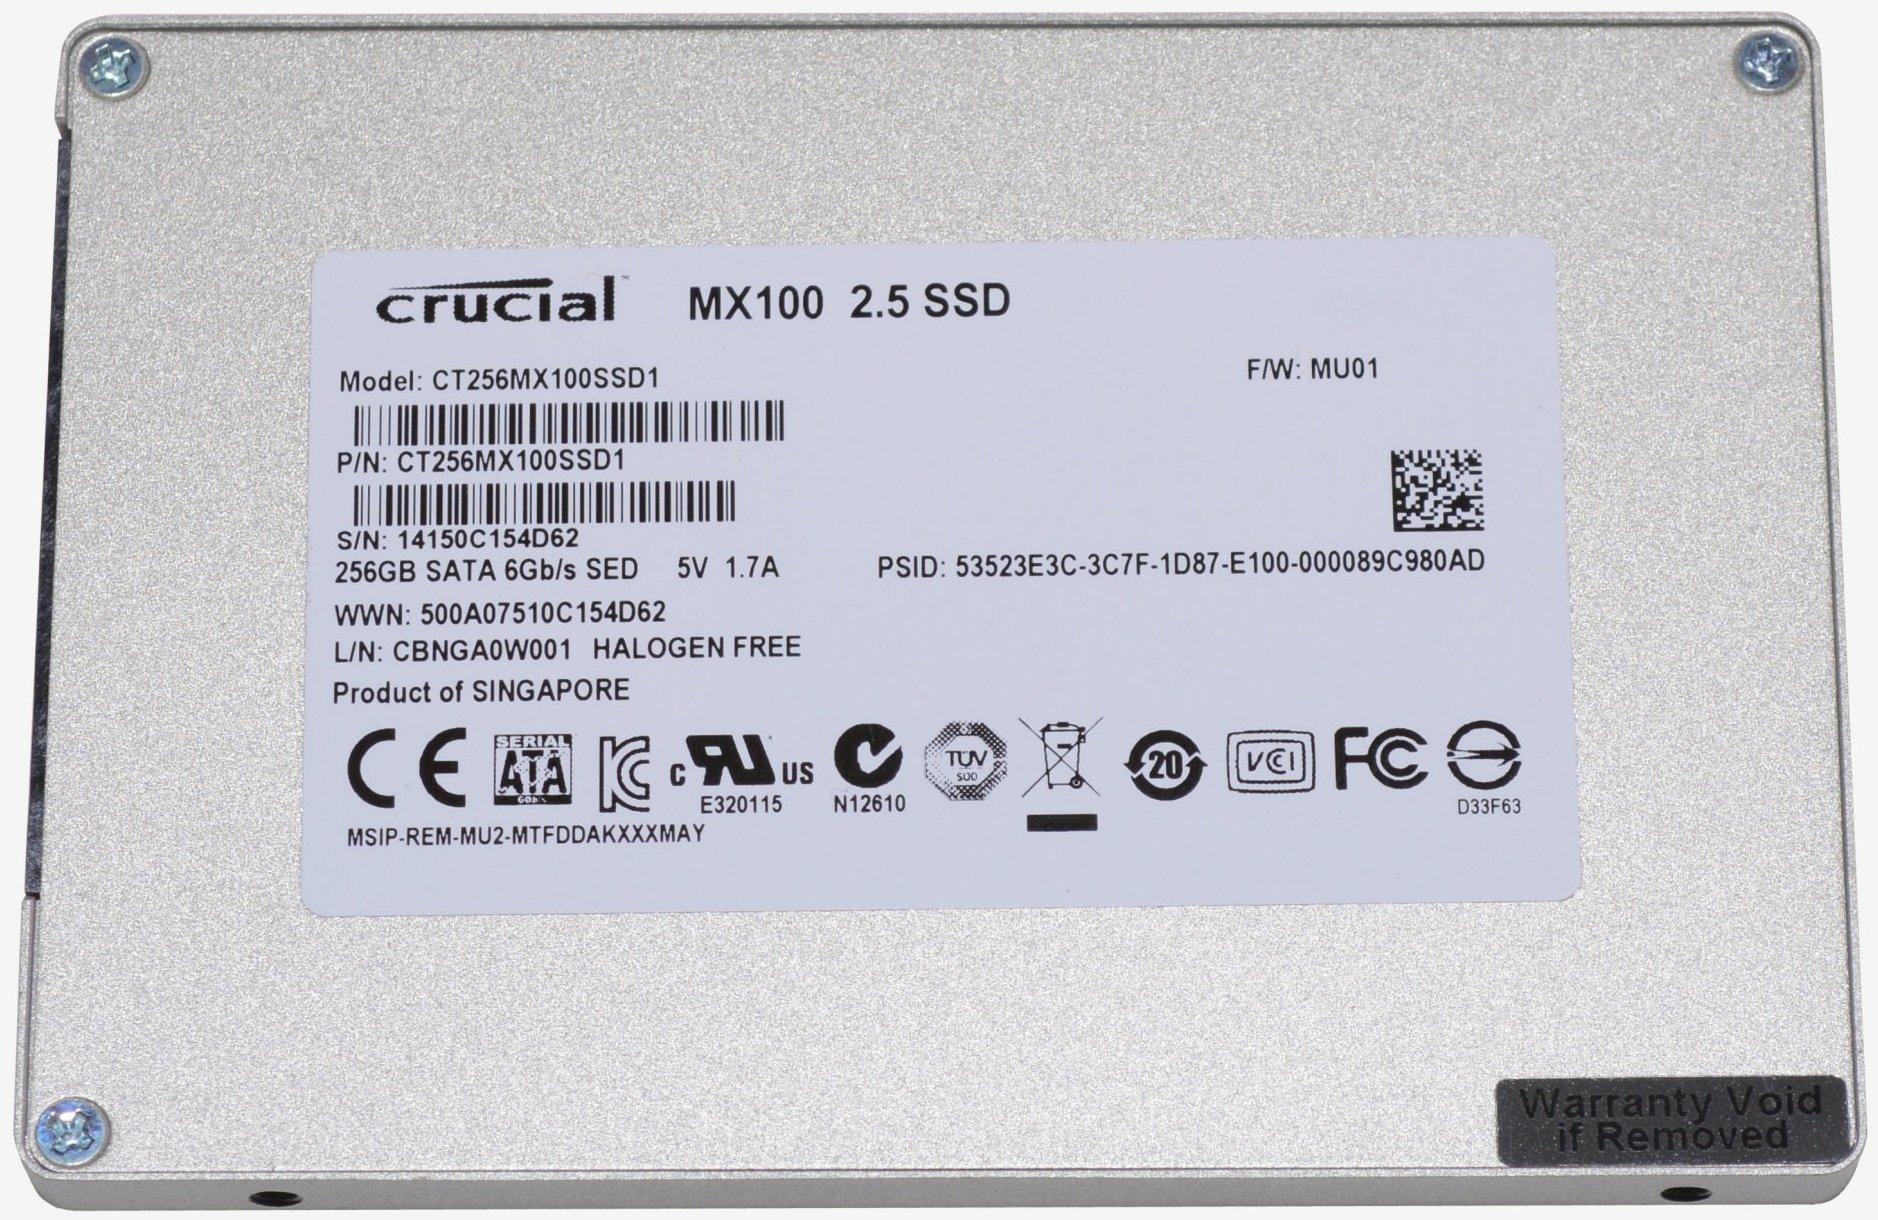
Crucial MX100 256GB SSD


Famed for its quality memory modules, Crucial has also become a trusted name in the solid-state drive business. Its RealSSD C300 made waves back in 2010 as the first consumer SSD series to natively support 6Gb/s SATA, though at $600 for the 256GB model, it was too pricey for most.
The company has since offered various successful upper-end products, including the M4 (2011's C300 successor) as well as the M500/M500DC for enthusiasts and data centers. However, Crucial's entry-level efforts have been less than laudable to date. In fact, the biggest hitch along the company's road has been its budget-minded v4 series.
There are really only two ways to make an affordable SSD: using a cheap controller or cheap NAND flash. The v4 series had the former -- the Phison PS3105 from parent company Micron -- but the controller was so bad that the drive was unusable, constantly pausing on Windows 7. It was worse than the stuttering of early SSDs.

With the woes of the v4 series behind it, Crucial is taking another crack at producing a cost effective SSD and things look more promising this time.
Instead of a cheap controller, Crucial has outfitted its MX100 SSDs with the same Marvell chip used by the high-performance M550, then used more affordable 16nm NAND flash rather than the M550's pricier 20nm solution. This makes for a relatively small difference in quoted read/write performance while seriously denting the M550's MSRP.
The M550 series costs $0.78 per gigabyte for the 128GB model, $0.64 per gigabyte for the 256GB model and $0.59 per gigabyte for the 512GB model. While those rates are great for today's standards, Crucial has managed to shave up to 35% off the price when looking at the 256GB model and at least up to 20% off other models with the MX100 series.

Crucial MX100 in Detail

Whereas the M500 has a 960GB model and the M550 series goes up to 1TB, the MX100 is limited to 512GB. Making an affordable 1TB SSD probably doesn't make much sense for Crucial right now, so we are not surprised to find this capacity cap.
Crucial claims the MX100 can achieve read speeds of up to 550MB/s, which is enough to max out the SATA 6Gb/s bus. Write speeds vary between models with the 128GB iteration starting at 150MB/s, followed by the 256GB at 330MB/s. The 512GB version touts a write throughput of 500MB/s, the same figure claimed by the M550 series.

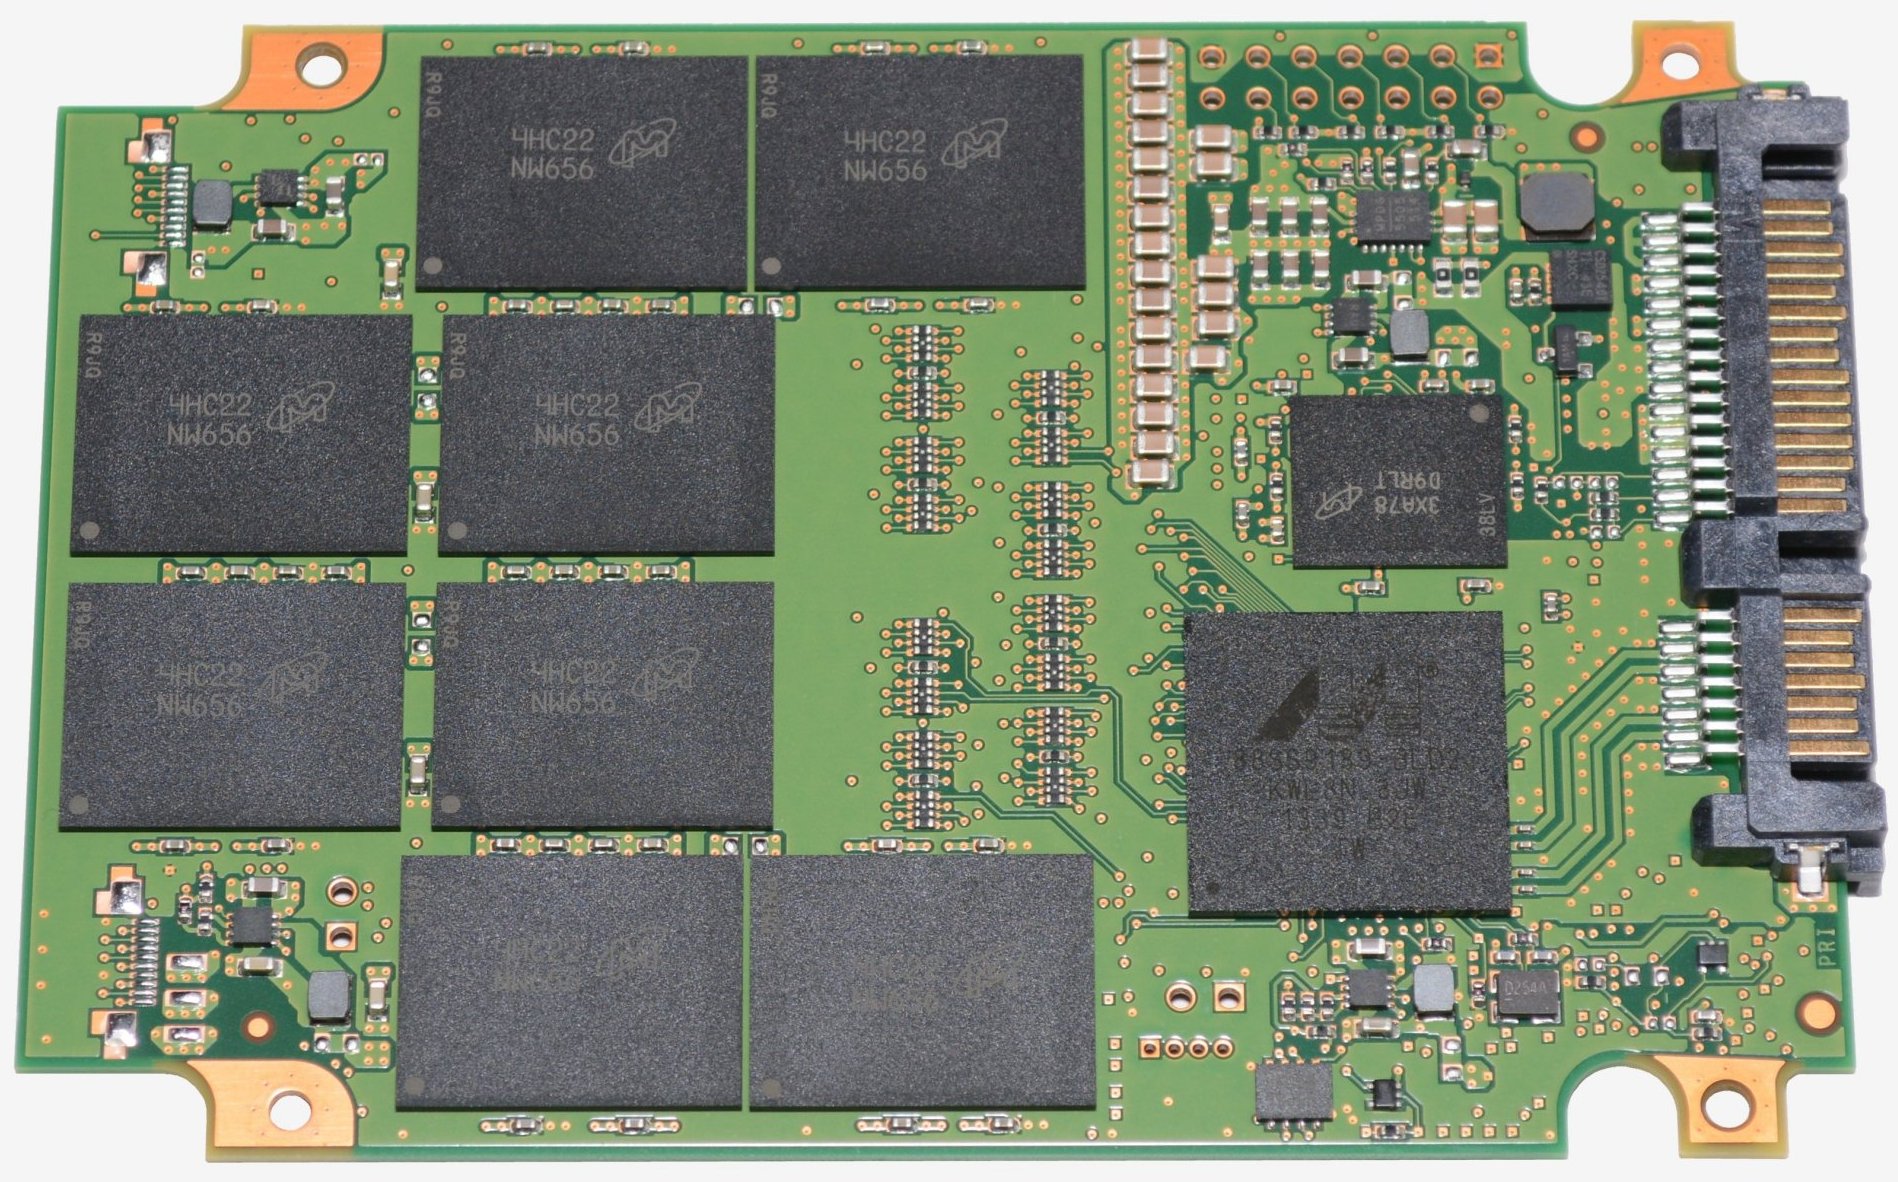
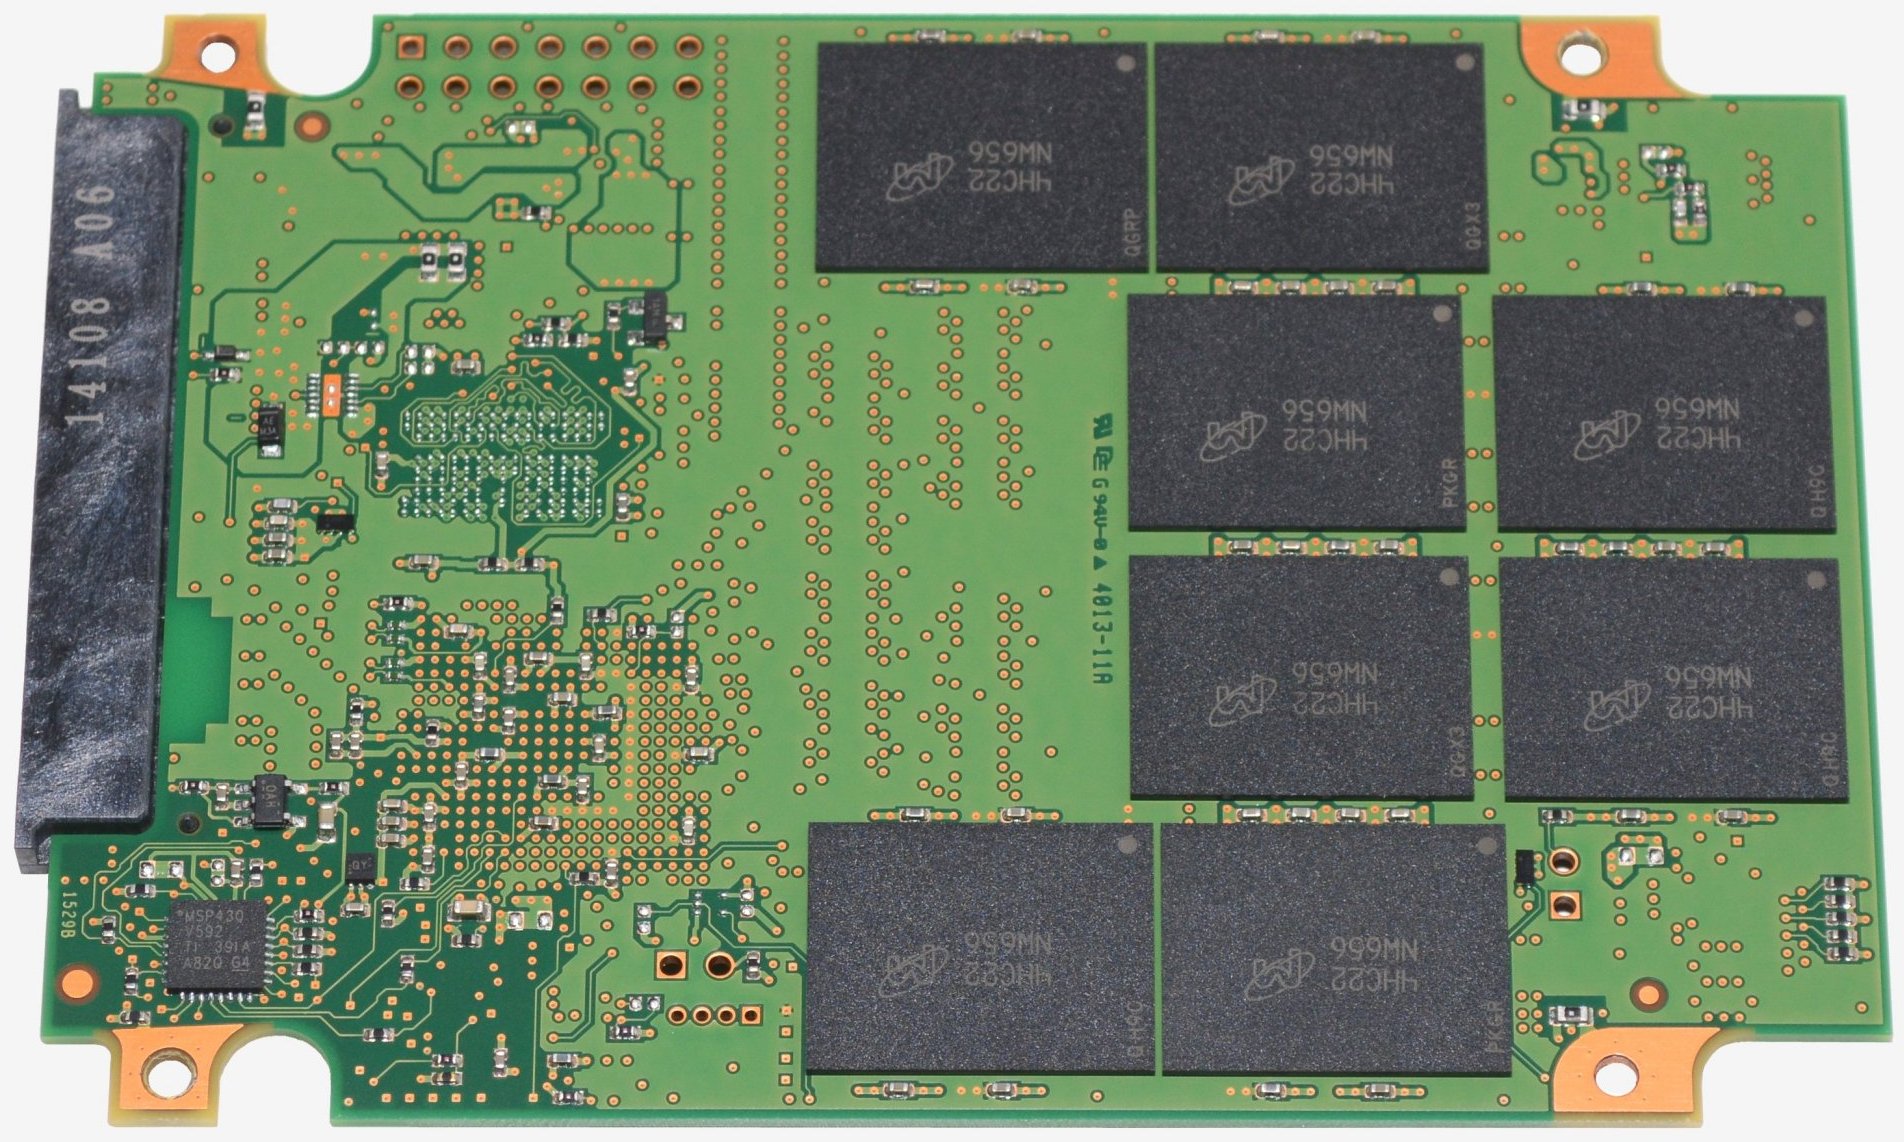
Crucial's new drive utilizes the tried and true Marvell 88SS9189 controller along with a Micron cache to improve small write performance and eliminate any stuttering issues.

The MX100's flash NAND memory (16nm 128Gbit MLC) is made by Micron, parent company of Crucial. This is the first mainstream product to use 16nm NAND. Crucial says the MX100 series can sustain a total of 72TB worth of writes before failing and is backed by a three-year warranty. That is a huge amount of writes, equivalent to 40GB per day for five years, which is well above what the average user will require.
The MX100 offers AES 256-bit encryption on hardware and is one of the only SSDs available that meets Microsoft eDrive, IEEE-1667, and TCG Opal 2.0 standards.

In terms of physical durability, a typical shock resistance of 1500G is part of the spec sheet. The MX100 can operate reliably at temperatures of up to 70 degrees Celsius and will survive 85 degrees when non-operational.
Like all SSDs, the MX100 should consume very little power. At idle, all three models use less than 100mW. When active they typically consume just 150mW. Crucial also states that the maximum amount of power these SSDs can consume is 3700mW for the 256GB and 4200mW for the 512GB model when working with 128KB data.

The MX100 series measures 100.45mm long, 69.85mm wide and just 7mm thick while weighing 70 grams. Crucial has included a spacer for systems that require the drive to be 9mm thick. The drives are compatible with both laptops and desktops, though you'll need an adapter if your chassis doesn't have a 2.5" bay. They'll also work in RAID if you buy more than one and are still backed by a limited three-year warranty.
The only area where Crucial is lacking compared to competitors such as Samsung is in software. Samsung's SSD Magician utility is excellent, allowing users to optimize their SSD, clean it, measure performance, easily apply firmware updates, monitor health and track other statistics. Crucial offers no such software for any of their SSDs, so this is certainly somewhere to improve.

Friday, 20 June 2014

After BSOD check Windows System files using sfc /scannow

The sfc scannow option is one of several specific switches available in the sfc command, the Command Prompt command used to run System File Checker. Sfc /scannow is the most common way that the sfc command is used.
Sfc /scannow will inspect all of the important Windows files on your computer, including Windows DLL files. If System File Checker finds an issue with any of these protected files, it will replace it.
Follow these steps for using sfc with the scannow option to repair important Windows files:
Difficulty: Easy
Time Required: Using sfc /scannow to repair important Windows files usually takes 5 to 10 minutes.

Here's How:

  1. Open Command Prompt as an administrator, often referred to as an "elevated" Command Prompt.
    Important: For the sfc /scannow command to work properly, it must be executed from an elevated Command Prompt window in Windows 8, Windows 7 and Windows Vista. This is not required in previous versions of Windows.
  2. Once Command Prompt is open, type the following command and then press Enter.
    sfc /scannow
    
    Note: There's a space between sfc and /scannow.
    Important: If you're trying to use System File Checker from the Command Prompt available from Advanced Startup Options or System Recovery Options, see Tip #1 at the bottom of the page for some changes in how you execute sfc /scannow.
  3. System File Checker will now verify the integrity of every protected operating system file on your computer.
    Note: In some situations, especially in Windows XP and Windows 2000, you may also need access to your original Windows installation CD or DVD.
  4. Restart your computer if sfc /scannow did actually repair any files.
    Note: System File Checker may or may not prompt you to restart but even if it doesn't, you should restart anyway.
  5. Repeat whatever process caused your original problem to see if sfc /scannow corrected the issue.

Tips:

  1. When running sfc /scannow from outside of Windows, like from the Command Prompt available when you boot from your Windows disc or flash drive, or from your System Repair Disc or Recovery Drive, you'll have to tell the sfc command exactly where Windows exists, as in this example:
    sfc /scannow /offbootdir=d:\ /offwindir=d:\windows
    
    The /offbootdir= option specifies the drive letter, while the /offwindir= option specifies the Windows path, again including the drive letter.
    Note: Depending on how your computer is setup, the Command Prompt, when used from outside of Windows, doesn't always assign drive letters in the same way that you see them from inside Windows. In other words, Windows might be at C:\Windows when you're using it, but D:\Windows from the Command Prompt in System Recovery Options.
    In most installations of Windows 8 and Windows 7, C: usually becomes D: and in Windows Vista, C: is usually still C:. To check for sure, look for the drive with the Users folder on it - that will be the drive Windows is installed on, unless you have multiple installations of Windows on multiple drives.
  2. Having trouble using sfc /scannow? See Get More Help for information about contacting me on social networks or via email, posting on tech support forums, and more.

Saturday, 17 May 2014

How to check if a computer that you are using has the 5 GHz network capability.

On the Command Prompt window, enter “netsh wlan show drivers” then press [Enter].
Step 3:
Look for the Radio types supported section.  If it says that the network adapter supports both  802.11a and  802.11n network modes, it means that the computer that you are using has the 5 GHz network capability.
In this example, the wireless adapter supports 802.11b, 802.11a, 802.11g, and 802.11n network modes.  This means that the computer has the 5 GHz network band capability.

On the Medion PC with a Linksys WUSB6300 Adaptor

C:\Users\Terry>netsh wlan show drivers

Interface name: Wireless Network Connection 3

    Driver                    : Linksys WUSB6300
    Vendor                    : Linksys LLC
    Provider                  : Linksys LLC
    Date                      : 14/06/2013
    Version                   : 1023.8.524.2013
    INF file                  : C:\Windows\INF\oem14.inf
    Files                     : 2 total
                                C:\Windows\system32\DRIVERS\RTWlanU.sys
                                C:\Windows\system32\drivers\vwifibus.sys
    Type                      : Native Wi-Fi Driver
    Radio types supported     : 802.11n 802.11n 802.11b 802.11g 802.11a
This supports 5GHz if the VirginMedia router is set to 5GHz

And

Interface name: Wireless Network Connection 2 This is the Edimax USB Wireless 802.11n Adapter

    Driver                    : 802.11n USB Wireless LAN Card
    Vendor                    : Ralink Technology, Corp.
    Provider                  : Ralink
    Date                      : 05/08/2009
    Version                   : 3.0.3.0
    INF file                  : C:\Windows\INF\oem13.inf
    Files                     : 4 total
                                C:\Windows\system32\DRIVERS\netr28u.sys
                                C:\Windows\system32\drivers\vwifibus.sys
                                C:\Windows\system32\RaCoInst.dll
                                C:\Windows\system32\RaCoInst.dat
    Type                      : Native Wi-Fi Driver
    Radio types supported     : 802.11b 802.11g 802.11n
This adaptor does not work on the VirginMedia router unless set to 2.4GHz setting


Question: What is Dual Band Wireless Networking?
Answer: In Wi-Fi wireless networking, dual band is the capability to transmit on the 5 GHz band of 802.11a and also the 2.4 GHz band used by 802.11b, 802.11g, and 802.11n. Unlike ordinary Wi-Fi equipment that only supports one signal band, dual-band gear contain two different types of wireless radios that can support connections on both 2.4 GHz and 5 GHz links.